Advertising Disclosure

Skin Research Institute has a financial connection to products sold via links on our website such as our top choices.


How to Blow-Dry Fine Hair Without Damage

How to Blow-Dry Fine Hair

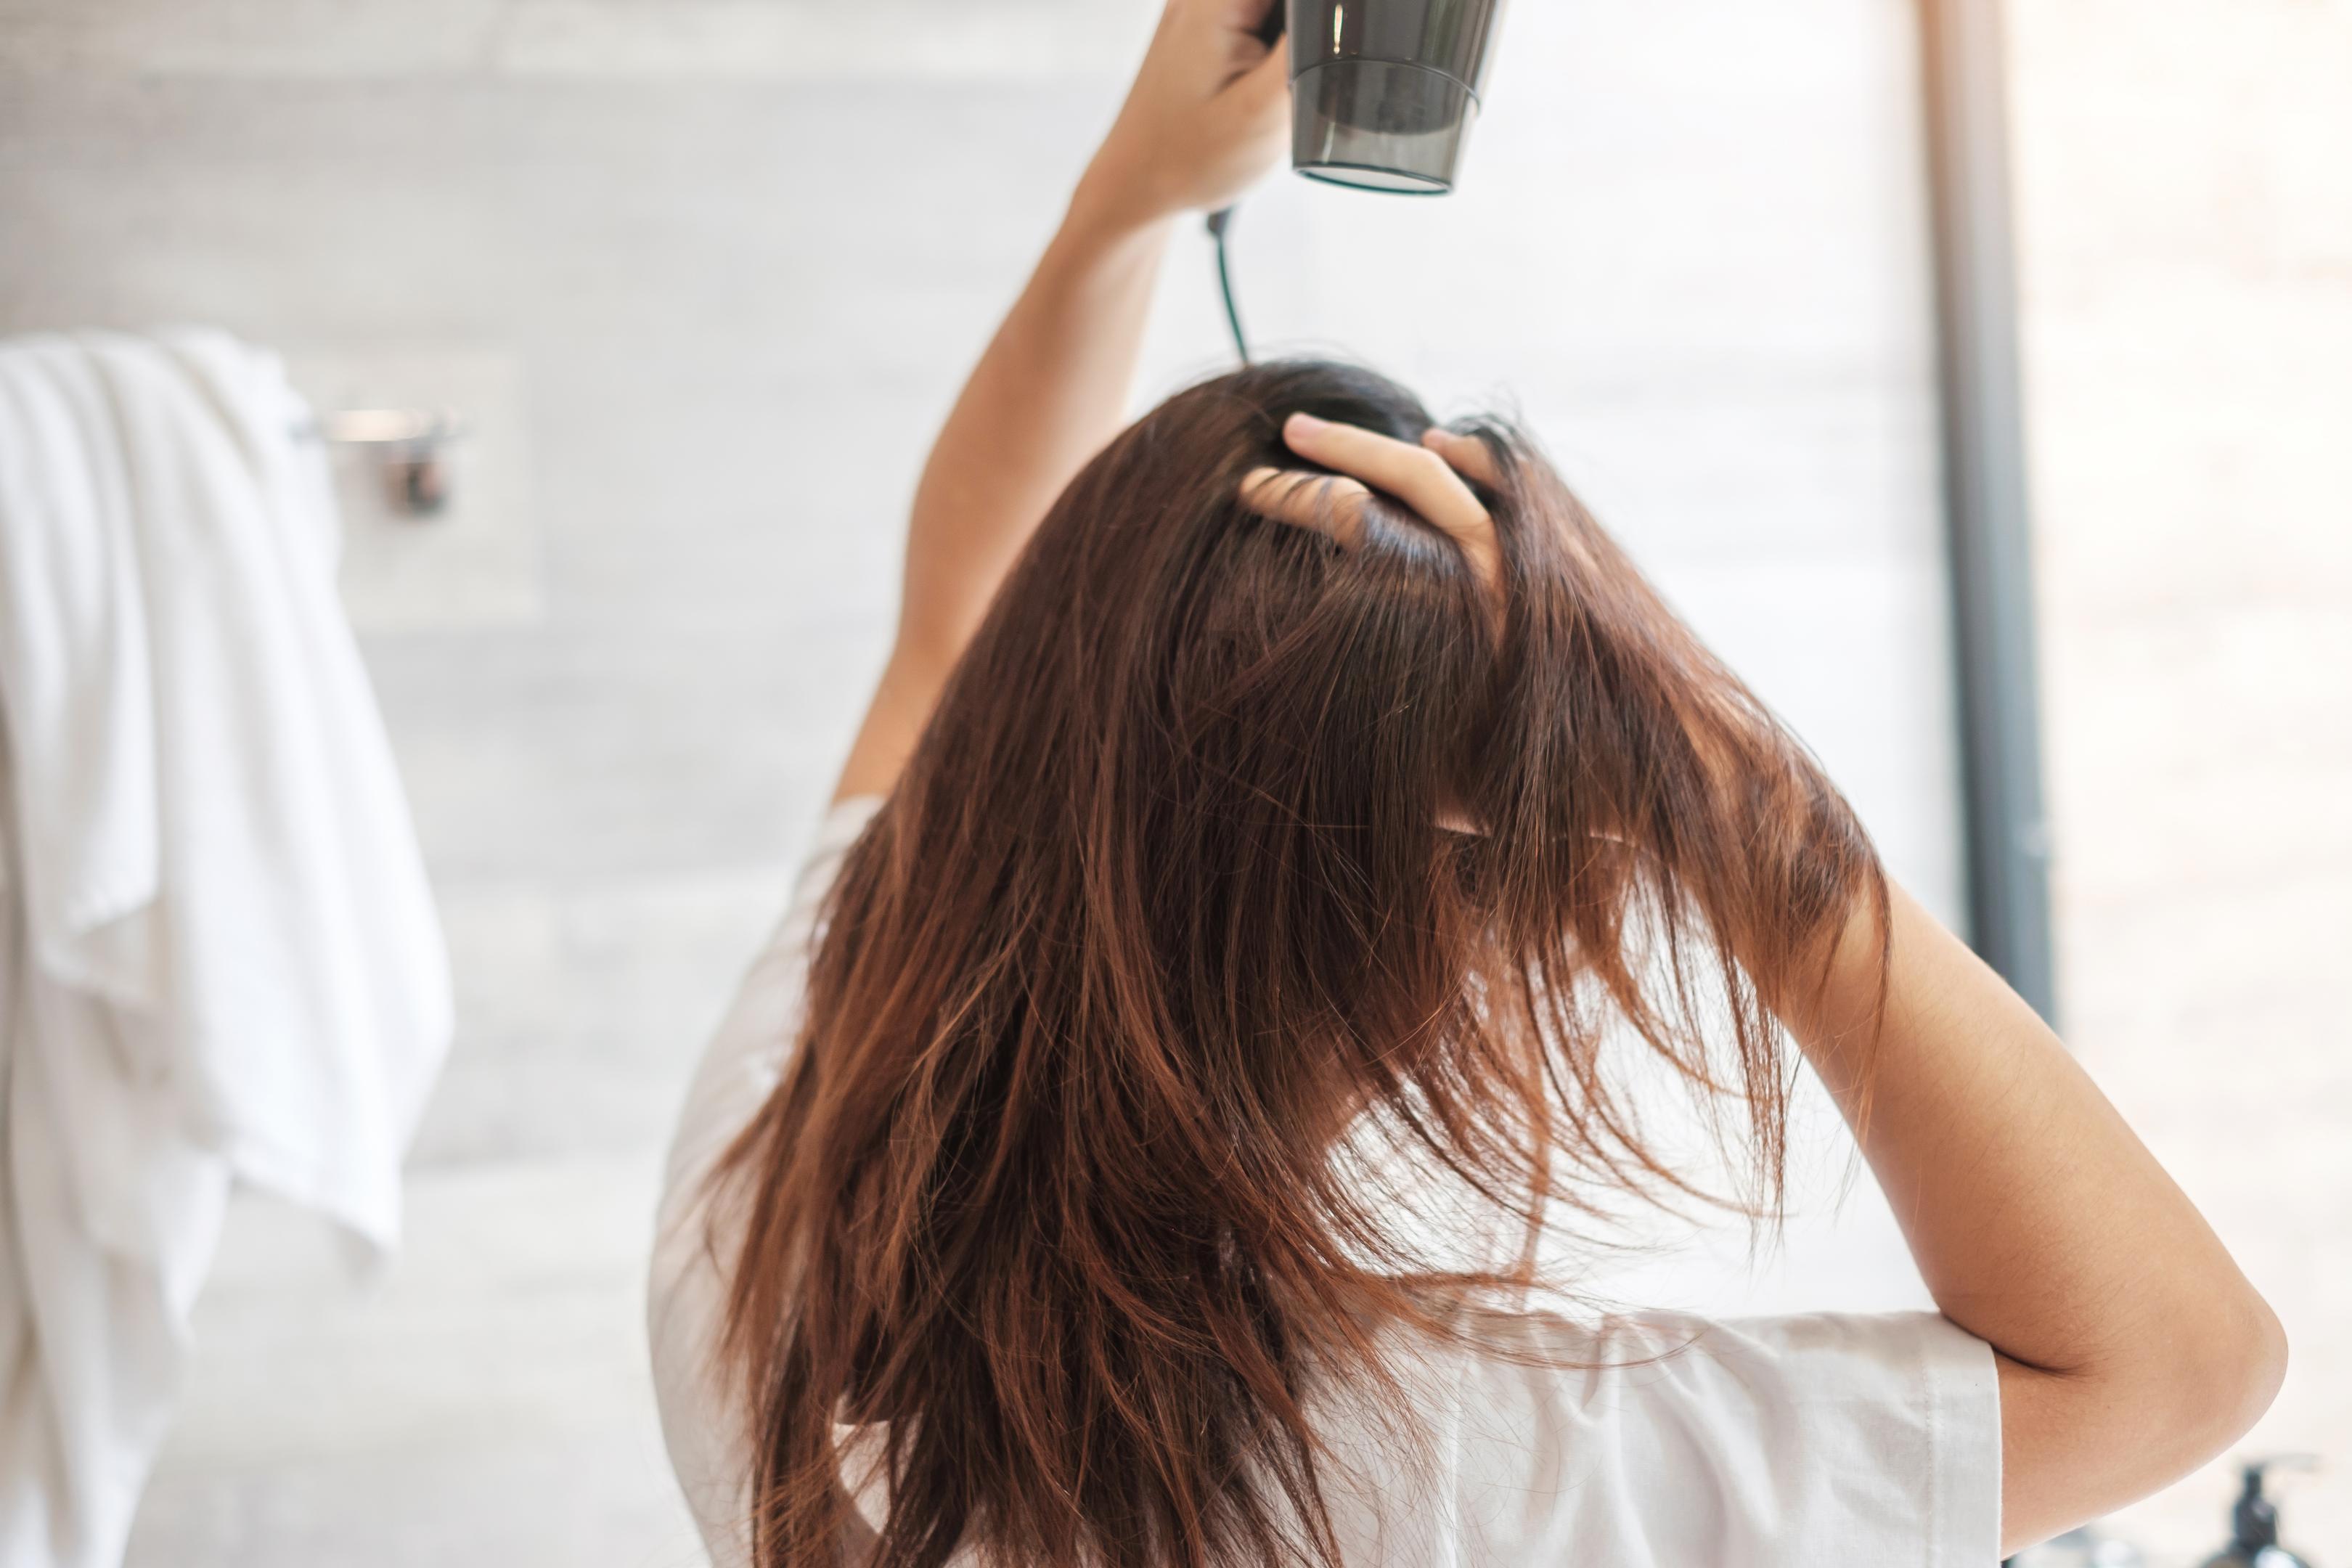
If you have fine, thin, or baby fine hair, you know the drill: you blow-dry it just right, walk out the door, and by lunch it’s flat, lifeless, or frizzing at the ends — sometimes both at once. It’s frustrating, and it’s not because you’re doing something wrong. Most blow-drying advice is written for thick, coarse hair, and applying it to fine or thin strands does more harm than good.

Fine and thin hair is more fragile by nature — less cuticle to protect it, less mass to absorb heat, and more vulnerability to breakage from the everyday heat and tension of styling. Over time, the wrong technique doesn’t just fail to help. It actively thins hair out further and leaves it more damaged with every wash.

The good news: you don’t need a different routine, just a smarter one. Here’s exactly how to blow-dry fine hair without the damage.
 

Why Fine Hair Damages Easily

woman with baby fine hair

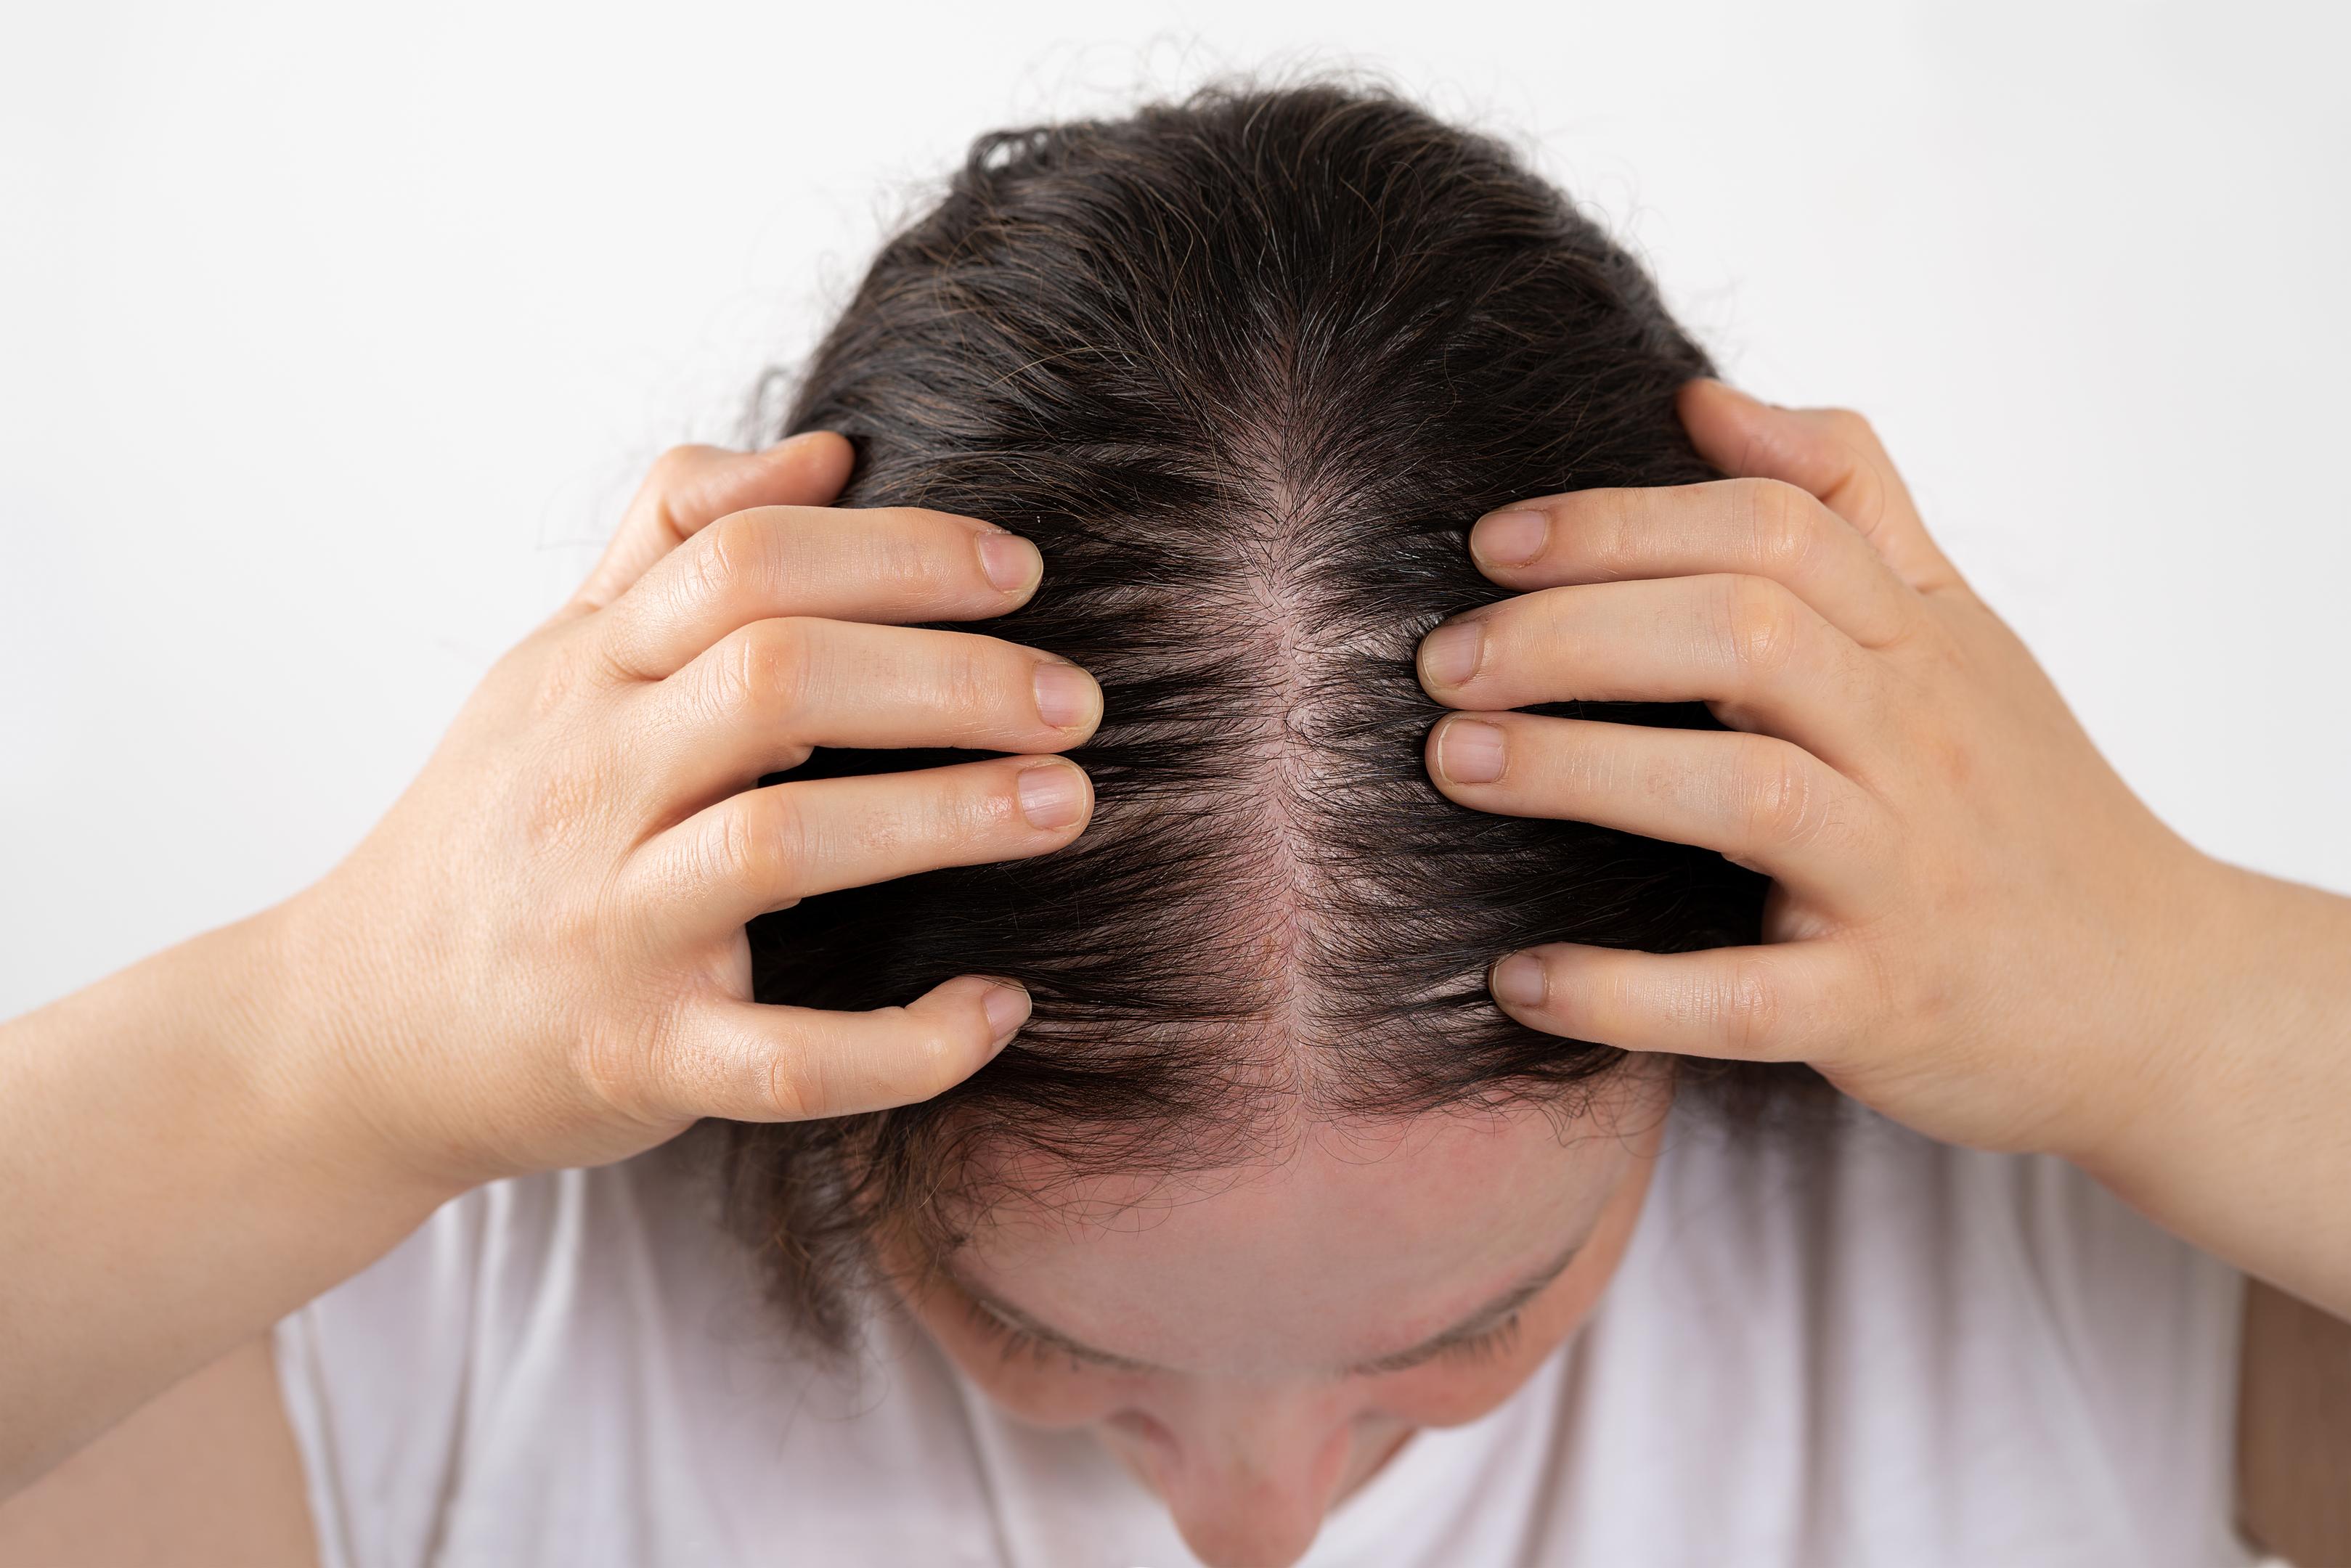
Fine hair has a smaller diameter than medium or coarse hair, which changes how it responds to heat in ways that aren’t always obvious.
Less protective cuticle layers

Hair strands are protected by overlapping layers of the hair cuticle — think of it like roof shingles. Coarse hair can have up to 10-12 layers while fine hair often has as few as 5-7. Fewer layers mean less of a buffer between the heat source and the inner cortex, so damage accumulates faster with the same amount of styling.

Lower heat tolerance before protein damage

Hair is roughly 90% keratin, a protein that holds its shape through a stable internal structure. That structure starts to break down — a process called denaturation — at sustained heat exposure. Because fine strands have less mass to absorb and dissipate that heat, they reach damaging temperatures faster and at lower dryer settings than thicker hair would.

More vulnerability to mechanical stress

Fine hair has less tensile strength per strand, meaning it takes less force to stretch or snap it. Brushing, tension from styling tools, and friction from towels or fabric all pull on hair — and fine hair reaches its breaking point sooner. This is why fine hair often shows breakage as short, wispy flyaways rather than clean split ends.

Faster moisture loss

Fine hair’s thinner shaft holds less internal moisture to begin with, so it dries out faster under heat — leaving it more prone to static, frizz, and a rough texture that’s harder to smooth down, even with the same products that work on thicker hair.

More visible damage over time

Because there’s less hair mass to “hide” damage, breakage and thinning show up more visibly and sooner on fine hair than on thick hair, where the same amount of damage might go unnoticed for longer. This is part of why fine hair can look thinner over time even without actual hair loss — it’s cumulative styling damage becoming visible strand by strand.


How to Prep Fine Hair Before Blow-Drying

how to blow dry fine hair

The goal isn’t just “use low heat,” it’s minimizing total heat exposure time and mechanical stress together which is exactly what the prep and technique below are built around.

  • Start by removing excess water, not rubbing it out.

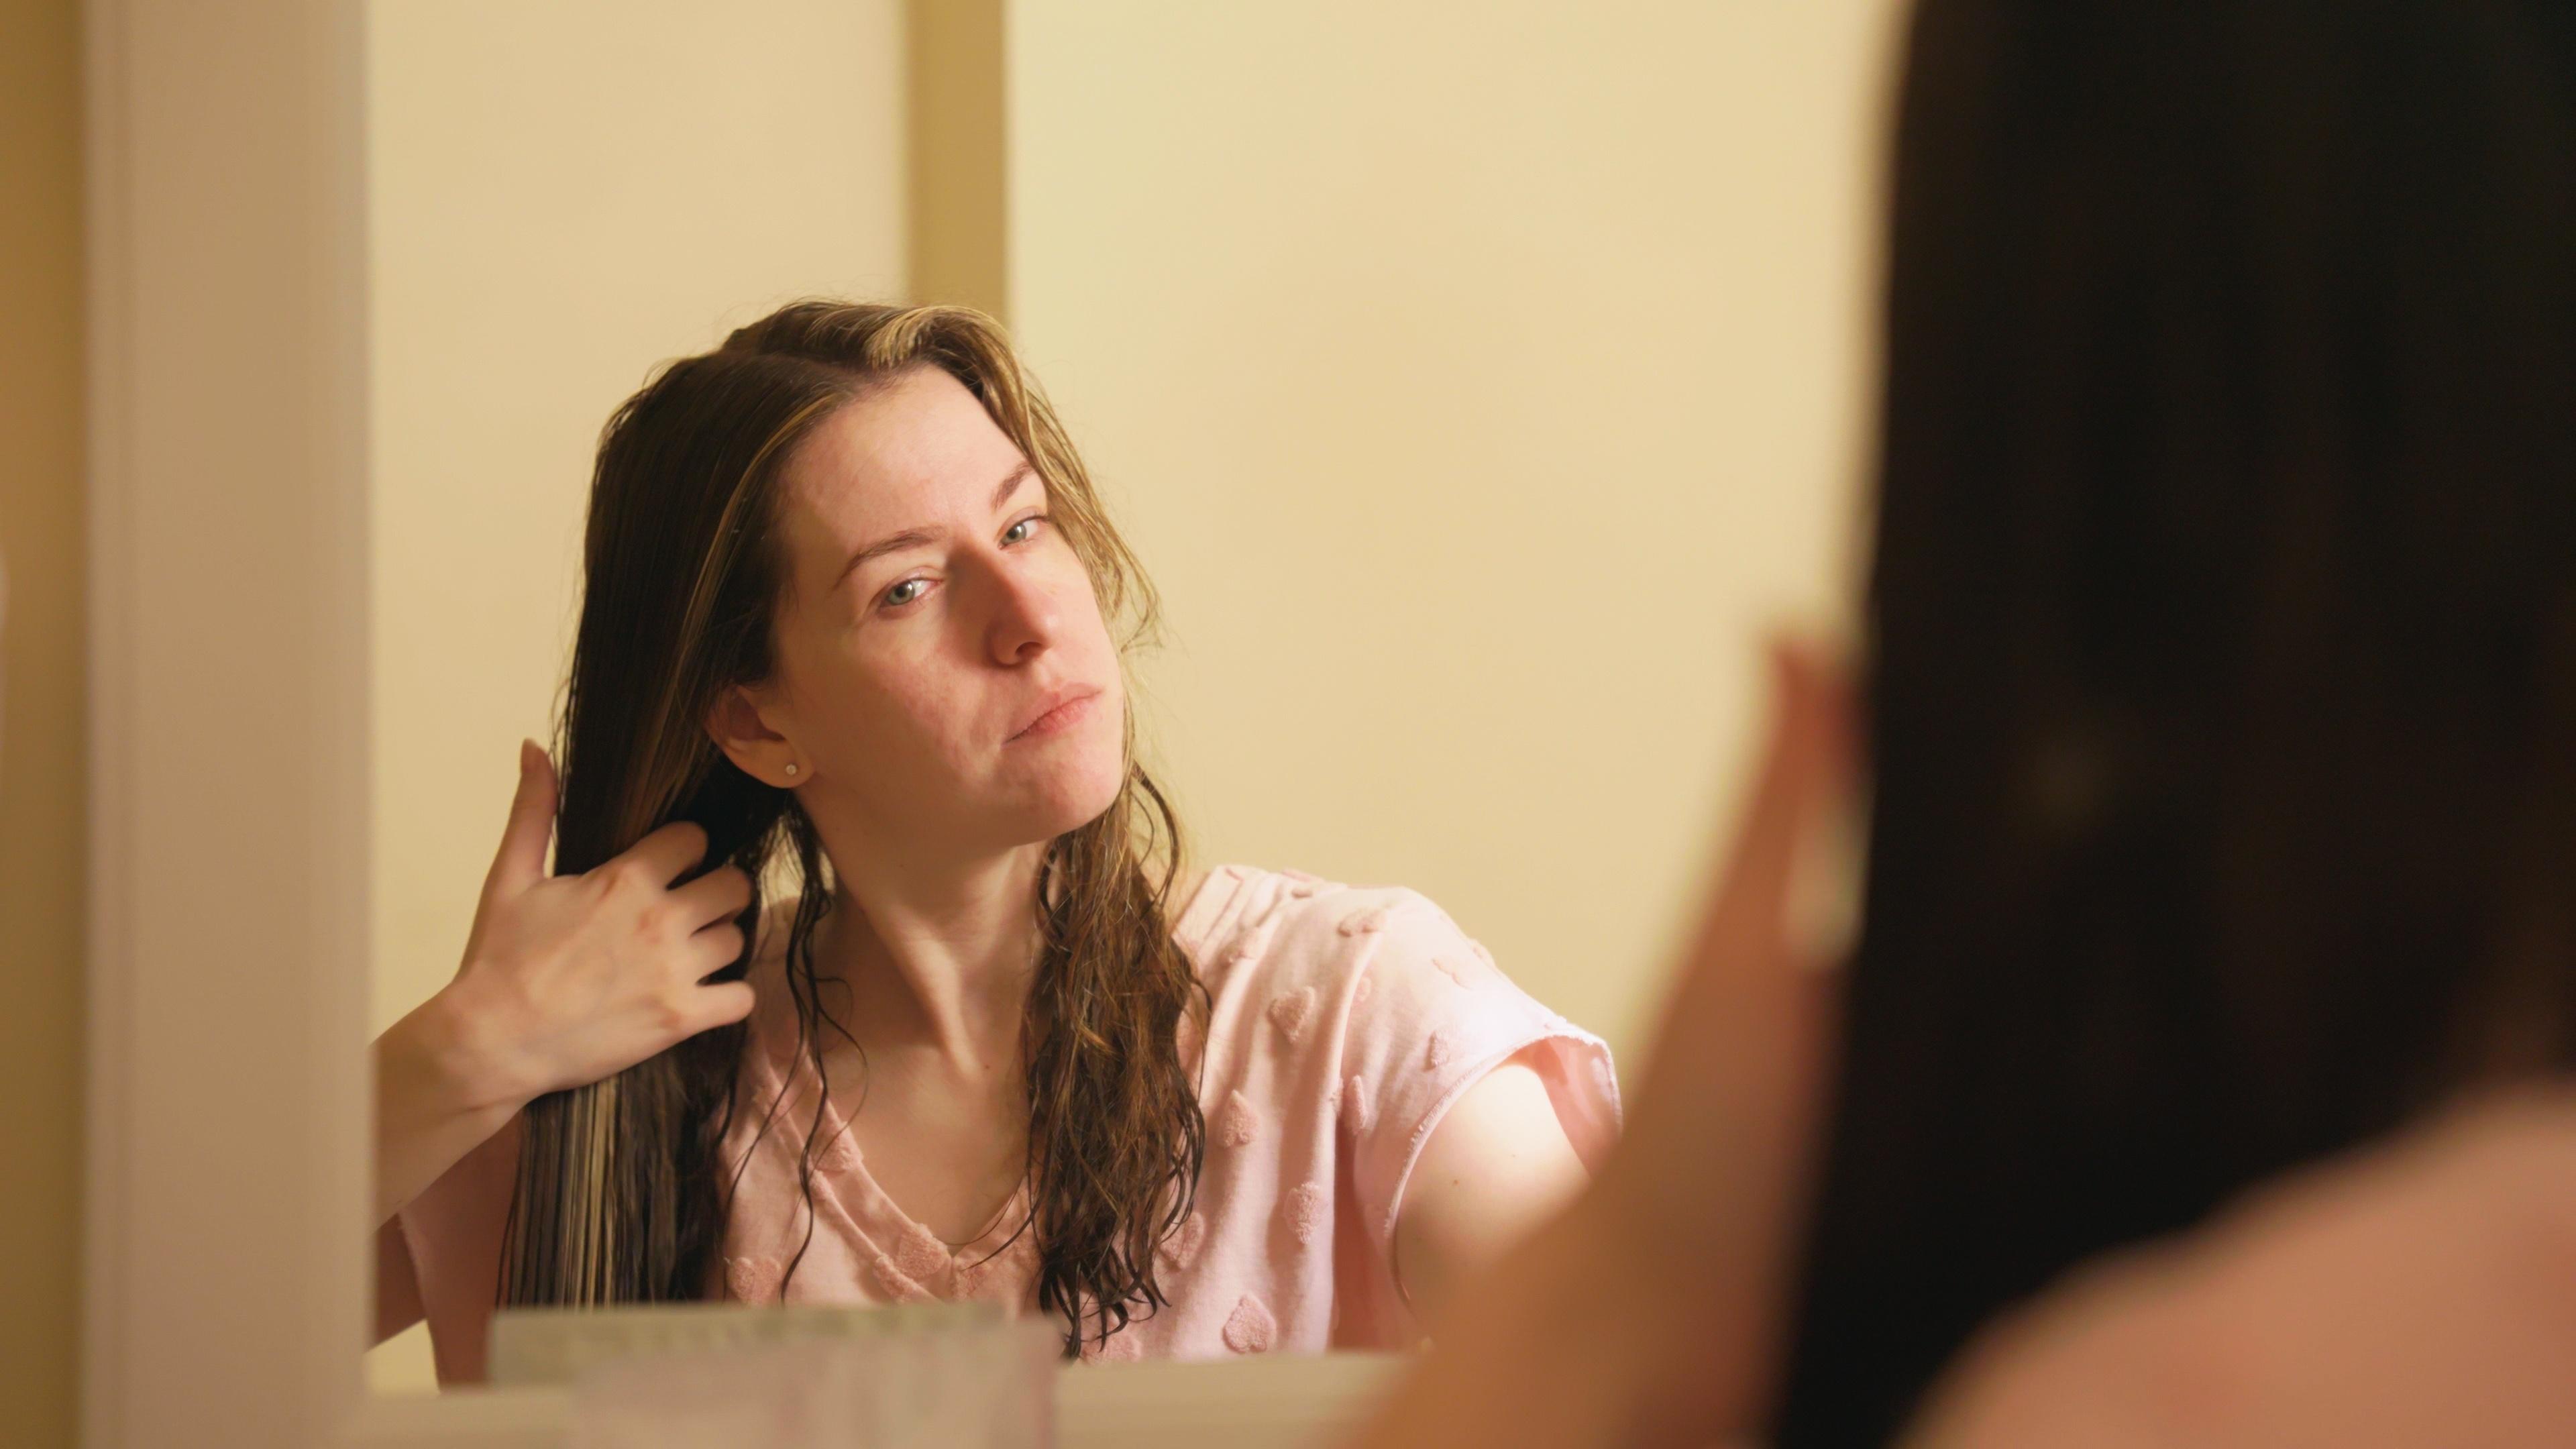
Avoid starting from soaking wet hair. Gently blot and squeeze out excess water using a microfiber towel or an old cotton T-shirt, rather than rubbing. Rubbing wet hair roughs up the cuticle while hair is at its most fragile, since wet hair stretches more and breaks more easily than dry hair.

  • Apply a heat protectant while hair is still damp.

A heat protectant creates a barrier that reduces moisture loss and buffers the hair shaft from direct heat. For fine hair, look for lightweight, silicone-light formulas — heavier styling products can weigh fine hair down and make it look flat.

  • Let hair air-dry partway before you begin blow-drying.

Give hair 10-15 minutes to air-dry, or gently squeeze out more moisture, before you begin blow-drying. Hair that’s still dripping wet takes longer to dry under heat, which means more total heat exposure than necessary.

Once hair is prepped, you’re ready to begin the drying process itself.


How to Blow-Dry Fine Hair in 8 Steps

1. Section your hair first.

Before turning on the dryer, clip hair into 3-4 sections — top, crown, and two sides is a good default. Drying the whole head at once forces you to use higher heat and more passes to get everything dry, which is exactly the exposure fine hair can’t tolerate. Working section by section lets you dry faster, at lower heat, per section.

2. Use the lowest heat setting that still dries hair in a reasonable time.

For fine hair, this is often medium-low rather than high. As a rough guide: if your hair dries in under 5 minutes on high, try the same routine on medium — the extra minute or two of drying time is worth the reduction in heat exposure. If your dryer has a cool-shot button, use it to set each section once it’s mostly dry.

3. Maintain 6 inches of distance.

Hold the dryer at least 6 inches from your hair — roughly the length of your hand from wrist to fingertip. Closer distance concentrates heat into a smaller area and increases the risk of scorching fine strands, even on a “safe” heat setting.

4. Keep the dryer moving constantly.

Never hold the nozzle on one spot for more than 2-3 seconds. Think of it like sweeping a flashlight beam across the section rather than pointing it at one spot — constant motion spreads the heat exposure instead of concentrating it.

5. Point the airflow downward, following the hair shaft.

Aim the nozzle from roots to ends, in the same direction the cuticle naturally lies. Drying against the cuticle (upward or sideways) roughs it up, which is a major cause of frizz and dullness in fine hair specifically.

6. Use a concentrator nozzle attachment.

Most dryers come with one, and it’s easy to lose in a drawer — but it matters. A concentrator narrows and directs the airflow into a focused stream, so you dry faster at lower heat instead of diffusing warm air broadly across a wider area.

7. Finish each section and the whole style with a cool shot.

A few seconds of cool air at the end of each section (and once more at the very end) closes the cuticle, locks in smoothness, and noticeably reduces static and flyaways, which fine hair is especially prone to. For extra shine, a lightweight, non-greasy shine spray applied after the cool shot can enhance the finish. Just use it sparingly on fine hair, since heavier formulas can weigh strands down and undo some of the volume from the steps below.

8. Do a final check before you put the dryer down.

Run your fingers through a section. If it still feels slightly warm or damp at the root, give it 10-15 more seconds. Stopping too early means the section air-dries the rest of the way unprotected, which can undo some of the smoothing work you just did.


5 Common Blow-Drying Mistakes That Damage Fine Hair

woman drying wet hair with her hands

Drying on high heat to “get it over with faster.”

It’s the most tempting shortcut — high heat dries hair faster, so it feels efficient. But speed comes at the cost of exposure intensity: high heat concentrated over a shorter time still does more damage than moderate heat over a slightly longer time, because it’s the peak temperature (not just total minutes) that triggers protein breakdown in the hair shaft. This is the single biggest driver of avoidable heat damage in fine hair.

Fix: Drop to medium heat and accept 1-2 extra minutes of drying time — the tradeoff is almost always worth it.

Brushing aggressively while drying.

Warm, wet hair is at its most pliable and most fragile at the same time — the hair shaft temporarily stretches under heat and moisture, which makes it easier to snap under tension. Aggressive brushing during this window is one of the most common (and least noticed) causes of breakage, because the damage doesn’t show up immediately — it shows up as gradual thinning and flyaways over weeks.

Fix: Use a brush with flexible, widely spaced bristles (a vented brush works well), and brush in slow, gentle strokes rather than fast tugging motions, especially through knots.

Skipping heat protectant.

It’s easy to assume a protectant only matters for a “real” styling session, not a quick everyday dry. But protectants work by forming a thin barrier that reduces direct heat transfer and slows moisture loss from the hair shaft — and that barrier matters just as much on a 5-minute dry as it does on a 20-minute one, since damage accumulates per exposure, not per session length.

Fix: Make protectant a non-negotiable step every time heat touches your hair — a lightweight, silicone-light spray takes seconds to apply and doesn’t add noticeable time to your routine.

Over-drying.

Once hair is dry, continued heat exposure isn’t doing anything productive — there’s no more moisture left to remove, so every extra second is pure heat damage with zero styling benefit. This often happens because people dry on autopilot rather than checking as they go.

Fix: Stop and check sections as you dry rather than running the dryer for a fixed amount of time out of habit. Run your fingers through each section — if it feels fully dry and cool to the touch, move on immediately.

Using the same dryer distance and heat for roots and ends.

Roots are newer growth and generally more resilient; ends are the oldest part of the hair, have been through more washing, styling, and environmental exposure, and are more porous as a result — meaning they absorb heat faster and have less structural reserve to withstand it. Treating both zones identically means your ends are effectively getting more damage relative to their condition than your roots are.

Fix: Increase dryer distance slightly or drop to a lower heat setting specifically when you reach the last few inches of hair, and finish ends with a cool shot a beat earlier than the rest of the section.
 

Effective Blow-Drying Techniques for Extra Volume

woman blow drying her baby fine hair

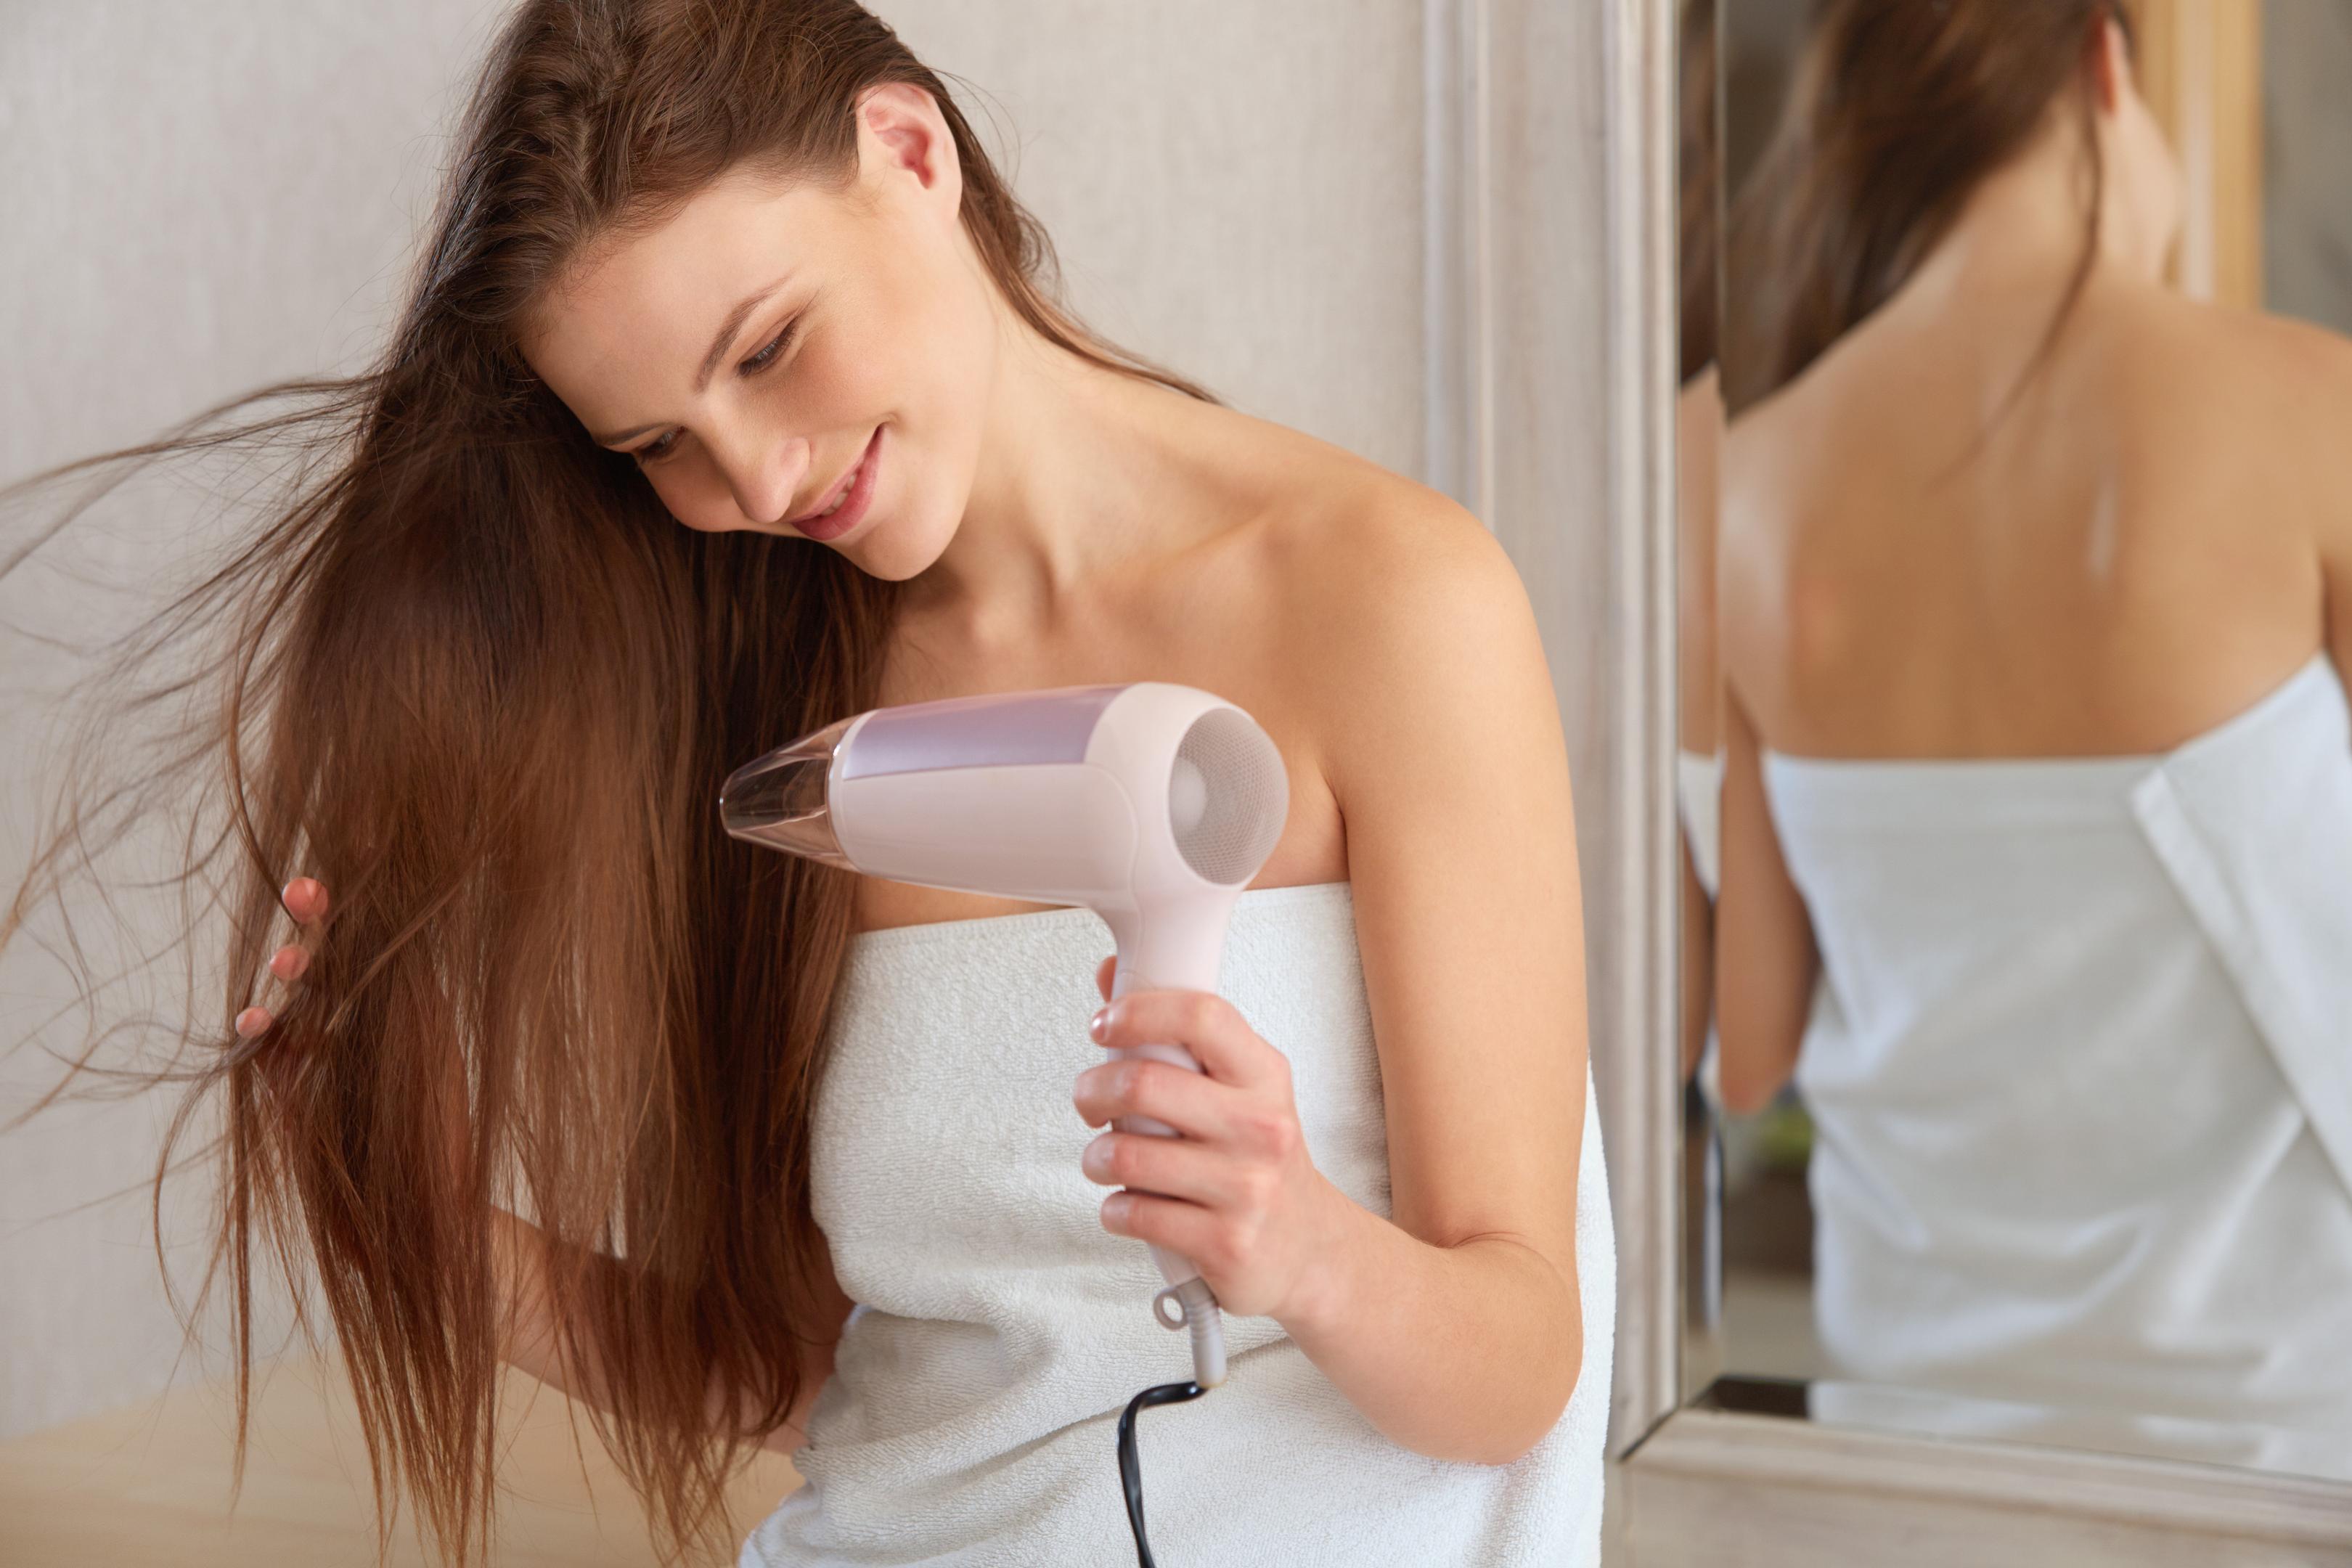
The steps above are about protecting fine hair from damage. These techniques build on that foundation to add hair volume and lift, which is often the bigger day-to-day frustration for fine hair specifically.

Rough-dry to about 80% before using any brush.

Rough-drying means running the dryer over hair with your fingers (not a brush) tousling it loosely, just to remove the bulk of the moisture. Brushing hair that’s still very wet adds tension and friction at the point when hair is most fragile. Beyond reducing breakage, rough-drying also adds volume by slightly lifting the cuticle, giving hair more texture and body than a fully smooth blow-dry would.

Use a round brush to lift damp hair at the roots.

Hair sets its shape as it loses moisture, which is why timing matters here — lifting at the roots while hair is still damp, not after it’s already dry, is what actually locks in the shape. Wrap sections under a round brush and lift away from the scalp — this creates lift that fine hair often lacks on its own. Hold for a few seconds under warm air, then set with a cool shot before releasing; that’s what actually locks in long-lasting volume rather than letting it fall flat within minutes.

Overdirect hair against its natural fall.

Instead of drying hair in the direction it naturally sits, direct sections up and away from the head while drying. This works against gravity temporarily, training the hair to hold more volume and body once it cools into place.

Apply volumizing mousse at the roots before drying.

A small amount of mousse worked into damp roots (not mid-lengths or ends, where it can weigh fine hair down) gives the round-brush lift something to hold onto, helping maintain volume once hair cools. Fine hair typically needs less styling product than other hair types — a golf-ball-sized amount is usually plenty for a full head.

If volume matters more than sleekness today, stop at 90-95% dry.

Leaving the last 5-10% to air-dry naturally, rather than drying it fully with the dryer, tends to preserve more volume and reduce the risk of drying into flatness. If smoothness matters more than volume, drying fully with a cool-shot finish (as covered in the steps above) is the better call — it’s a tradeoff based on the look you want that day, not a rule that overrides the damage-prevention steps.


Combining two or three of these techniques rather than relying on just one tends to produce the most noticeable, maximum volume results.


Best Blow Dryer Features for Fine Hair

Technique matters most, but the right dryer makes good technique easier to execute. Here’s what to prioritize if you’re shopping for one suited to fine hair.

Light or heat-assisted therapy features

Some higher-end dryers now incorporate light-based therapy, such as infrared or red light, alongside standard heat drying. These are marketed to support hair strength and reduce breakage over time — a potentially valuable addition for fine hair, which tends to break more easily and thicken more slowly. As with any therapeutic claim, it’s worth confirming the specifics against the brand’s verified specs before assuming it applies to a particular model.

Intelligent or adaptive heat control

Look for a dryer that adjusts heat output based on airflow speed, rather than applying one fixed heat level regardless of speed setting. This kind of adaptive control helps hair dry faster without relying on raw heat intensity to get there. It directly supports the core principle in this guide: total heat exposure time matters just as much as peak temperature.

Negative ion technology

Ionic technology helps break down water molecules on the hair’s surface faster, which shortens overall drying time and reduces total heat exposure. It also tends to cut down on frizz and static, two of the more common frustrations with fine hair. This feature is increasingly standard on mid-range and higher dryers.

Multiple heat and speed settings, ideally with memory function

More granular control over heat-speed combinations makes it easier to consistently land on a lower-heat, sufficient-airflow setting instead of defaulting to “high” out of habit. A memory function that saves your last-used setting removes the friction of re-adjusting every time you dry. Together, these features make good technique easier to repeat daily.

Lightweight, compact build

A lighter dryer helps you maintain proper form — steady distance, constant motion — through a full drying session without arm fatigue creeping in and affecting your technique. This matters more than it sounds, since fatigue is often what causes people to hold the dryer too close or too still. Compact builds also make it easier to travel with or store.

Quick-attach nozzle and diffuser attachments

Easy-to-swap attachments, whether magnetic or snap-on rather than twist-lock, make it more likely you’ll actually use a concentrator nozzle consistently. Less friction in attaching accessories means less temptation to skip that step altogether. Over time, that small convenience adds up to meaningfully better technique.


How Often Should You Blow Dry Fine Hair?
a woman using blow dryer on fine hair

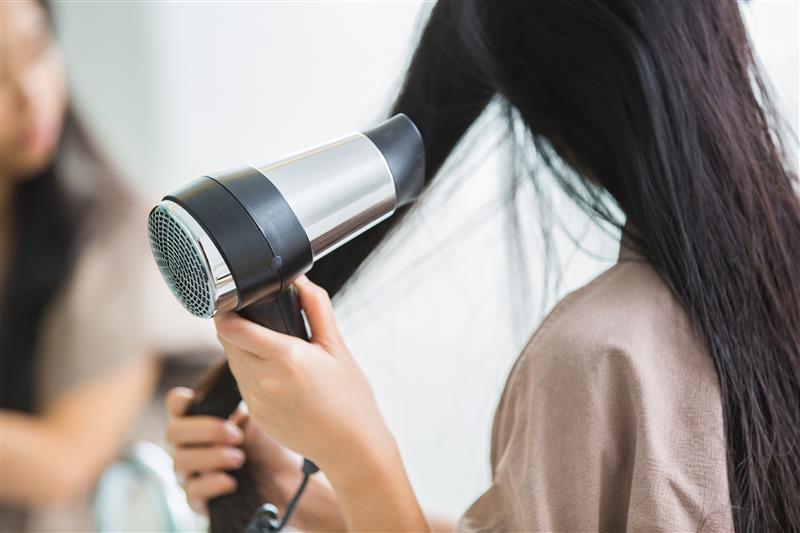
Daily heat styling compounds damage over time, even with a perfect technique. Heat exposure adds up cumulatively, so even a gentle, well-protected blow-dry still contributes some wear each time, and fine hair has less structural reserve to absorb that wear before it shows up as breakage or dullness.

If your routine allows it, stretching blow-dries to every other day cuts your total monthly heat exposure roughly in half, while still keeping hair styled most days. On off-days, dry shampoo at the roots (where oil and flatness show first) or a loose braid overnight can maintain your style without adding heat. Over weeks and months, that difference is often what separates hair that’s slowly thinning and becoming brittle from hair that holds its thickness and shine.

 

Frequently Asked Questions

1. Can I blow-dry fine hair every day?

Yes, but use a heat protectant and low to medium heat to minimize damage. If you notice more breakage or dullness than usual, consider stretching to every other day instead.

2. What heat setting is best for fine hair?

Low to medium heat is safest since fine hair dries quickly and is more prone to heat damage. If your dryer has a cool-shot button, use it to set your style once each section is mostly dry.

3. Should I air dry before I begin blow-drying?

Yes. Let your hair air dry until it’s about 70-80% dry to reduce heat exposure. Avoid starting from soaking wet, since that adds unnecessary drying time under direct heat.

4. Can blow-drying make fine hair thinner?

Blow-drying doesn’t cause hair loss, but excessive heat can lead to breakage, making fine hair appear thinner. Sticking to lower heat and proper technique helps prevent this kind of damage-related thinning.

5. What’s the best brush for fine hair?

A round brush adds volume while a vented brush speeds up drying with less heat exposure. Look for one with flexible, widely spaced bristles to reduce tension and breakage.

6. Do I need a heat protectant for fine hair?

Yes. A lightweight heat protectant helps shield fine hair from heat damage without weighing it down. Apply it to damp hair before you begin drying for the best protection.

7. Is ionic technology good for fine hair?

Yes. Ionic dryers can reduce drying time and frizz, but use them on a low heat setting to avoid over-drying. Less time under heat means less cumulative damage over time.

8. How can I add volume while blow-drying fine hair?

Lift the roots with a round brush, direct airflow upward, and finish with the cool shot button to help maintain volume and make your style last. Applying a small amount of volumizing mousse at the roots beforehand can also help.


Final Thoughts

Protecting fine hair while blow-drying comes down to three things: lower sustained heat, constant movement to avoid concentrated heat exposure, and gentle handling to minimize mechanical stress. None of these require special tools. They’re technique changes anyone can make with the dryer they already own, and they’re the foundation for beautiful hair that holds up over time rather than getting more fragile with every wash.

If you only change one thing, make it the heat setting. Every mistake covered in this guide is downstream of trying to dry hair faster than fine strands can safely tolerate. Fix that, and the rest of the technique becomes much easier to get right.

If you’re shopping for a dryer built with fine or thinning hair in mind, our full breakdown of the best options for 2026 covers what actually matters for this hair type.


Learn how to blow-dry fine hair without heat damage. Read here for tips, tools, and mistakes to avoid for stronger, shinier results.


Tria Regina David

Tria David is a content writer, SEO specialist, and digital strategist dedicated to helping shoppers make informed, confident decisions. She creates research-driven buying guides, product comparisons, and practical resources that simplify complex information and provide real value to readers. With experience across diverse industries — including legal, technology, home improvement, health and more — Tria combines data-backed SEO strategy with a reader-first approach, so her content not only ranks well but truly helps consumers navigate their choices.